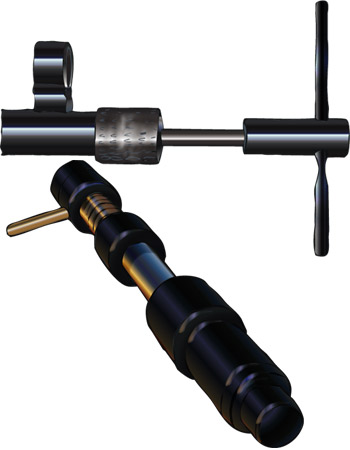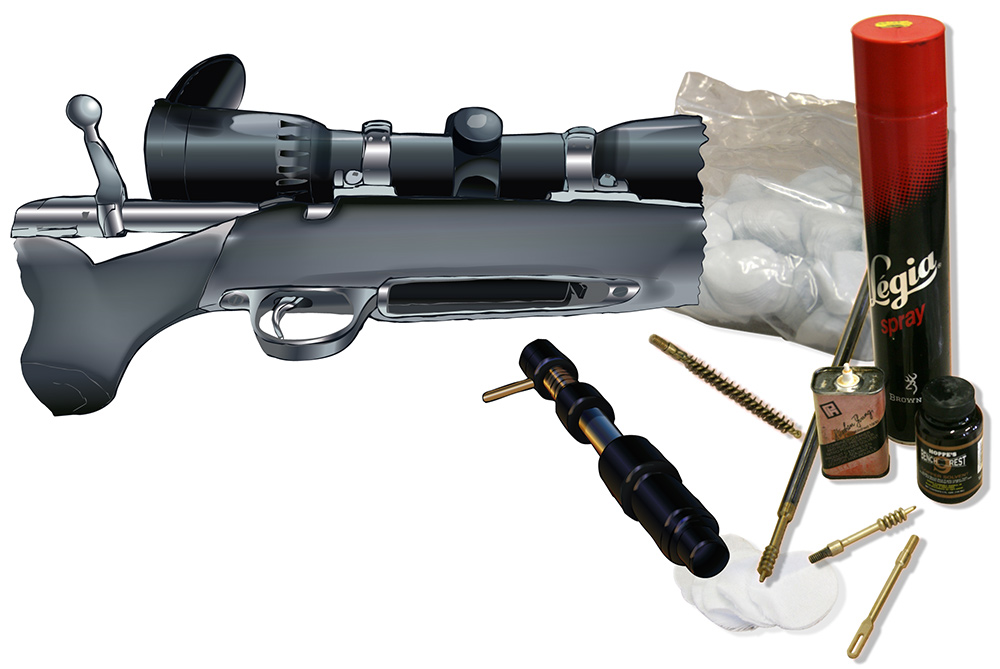
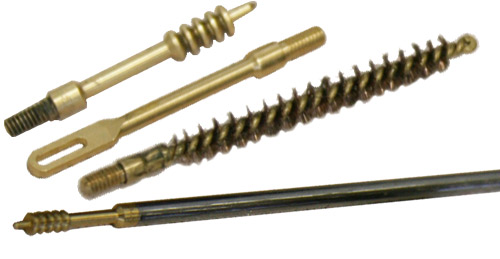
rifle cleaning kit together with bore guide
Aim
Zeroing describes the method of ensuring that the point of aim and the point of impact is the same for a given range. The aim of this guide is to provide practical guidance on maintaining and zeroing rifle equipment to ensure:
- operational safety, and
- consistency of accuracy.
This guide assumes that rifles are in good condition to start with.
Servicing
The condition of a firearm is important. Rusted, damaged or blocked barrels may be unsafe and fouling or corrosion may cause mechanisms to fail. If there is any doubt as to its condition, the firearm should not be used until it has been properly checked and repaired.
Allowing small amounts of fouling to build up in the rifling will reduce the consistency of accuracy.
- Ensure rifles are serviced annually by a competent gunsmith.
Cleaning frequency
- All rifles not in daily use should be stored in a clean and lightly oiled state. The oil must be removed from the barrel before being brought into use. Failure to do so may cause damage to the barrel.
- A rifle “in daily use” should be thoroughly cleaned at least once a week or after every 15 to 25 shots.
- At the end of each days outing, a cotton patch should be put through the bore.
- A rifle “in daily use” should be cleaned and thoroughly dried after any wet outing.
Cleaning equipment
Having the proper cleaning equipment for use with specific calibers of firearm is essential. Cleaning kits generally include:
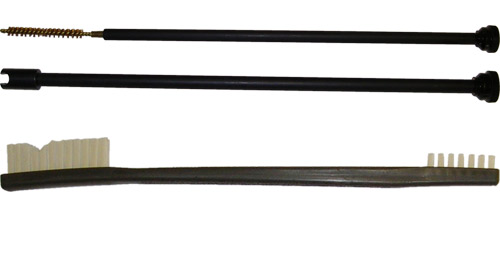
- Plastic coated or quality solid steel rods of the correct size and as short as possible for the barrel length;
- A good quality bore guide (prevents brushes and jags from damaging the throat of the barrel and keeps the rod aligned all the way down the barrel, protecting the rifling. Also prevents solvents and debris entering the magazine or trigger mechanism);
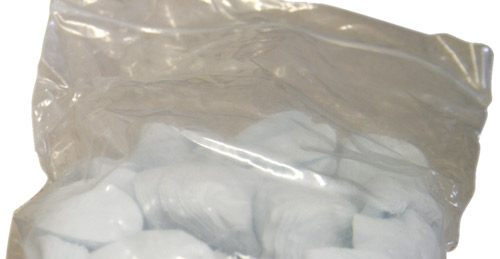
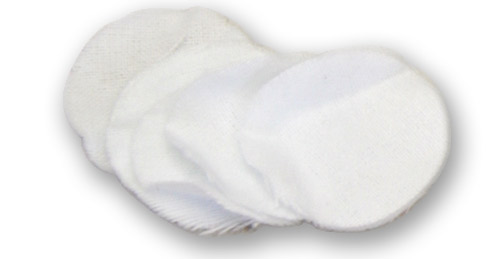
- Spear tip jags and good cotton cut patches sized to fit down the bore;
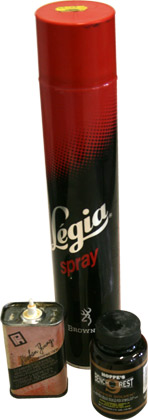
- Specialist copper solvents. Ammonia based solvents should not be left on for long periods of time as they can etch the surface of stainless steel barrels;
- Good quality bronze brushes with a brass core;
- A small stiff brush i.e. toothbrush.
- An action cleaning kit including chamber rods, industrial-type tissue paper and dental rolls.
Cleaning programme
General
- Ensure the bolt and ammunition are removed from the firearm before cleaning and ensure all ammunition is stored securely away from the cleaning area.
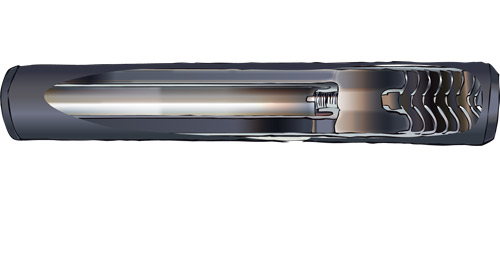
- Remove muzzle accessories such as sound moderators or muzzle breaks prior to cleaning.
- Check barrel for rusting, pitting and dents. If any of these found, seek advice from a gunsmith.
- Do not put damp firearms into gun cabinets, as rusting will start immediately, especially if there are any traces of blood left on the metal work.
- If wet or cold, dry the outside of the rifle thoroughly with a clean, dry rag. Let rifle stand for an hour in a secure place or within sight, to adjust to indoor temperature and allow condensation to dispel.
Barrel
- 1. Using a bore guide, push a patch soaked in copper solvent through the barrel until it no longer comes out looking black.
2. Leave the solvent in for the time stated by the manufacturers and patch out with clean tight cotton patches.
3. If the patches have blue copper deposits push a brush with solventh through the barrel and completely out of the muzzle.
4. To maintain the quality of the solvent, do not dip the brush into the solvent bottle as this will contaminate the solvent inside.
5. Use roughly one cleaning stroke per shot since the last cleaning, this is normally around 15 to 25 strokes. Ensure the brush has exited the barrel completely if changing direction of the stroke. This will prolong the life of the brush.
6. Clean out the barrel with clean, dry patches.
7. Repeat task if the patches are still coming out blue or copper coloured. If two attempts at brushing do not remove the copper then seek advice from a gunsmith.
8. When patches are coming out clean, remove the bore guide and swab out the chamber with some tissue paper on a jag or chamber stick to remove dirt and excess solvents.
9. Ensure that all cleaning materials have been removed from the bore and that the bore is free from obstruction.
10. Lightly oil the surface of the barrel with gun oil.
Muzzle brakes / sound moderators
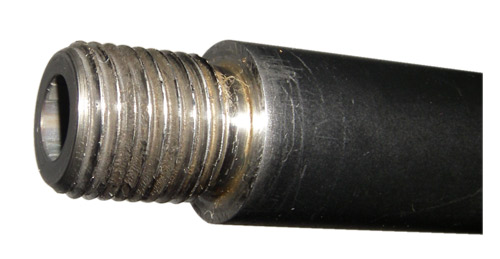
- Always remove muzzle accessories prior to cleaning and after each shooting session. Large amounts of fouling will build up on the crown and should be removed in order to prevent corrosion. Condensation can also gather, causing rusting. Muzzle accessories should be maintained as per their manuals.
- Use a phosphor bronze bore brush and copper solvent to remove fouling and oil lightly.
- A small amount of grease should be applied to the threads prior to refitting the brake or moderator.
- Neoprene covers should be removed and dried.
- Lightly oil the moderator/muzzle brake according the manufacturers recommendations.
Chamber cleaning
- Wrap industrial-type tissue around a bore brush, push it into the chamber and gently turn to remove surplus solvents or foreign material after cleaning the barrel.
Locking lug recess & bolt lugs
- Where the bolt lugs lock into the action is difficult to access and yet important to clean.
- An action cleaning kit with cotton dental rolls should be used to clean out any accumulated dirt.
- Bolt lugs should be wiped off and lubricated every time the rifle is used. Use a very small quantity of light grease.
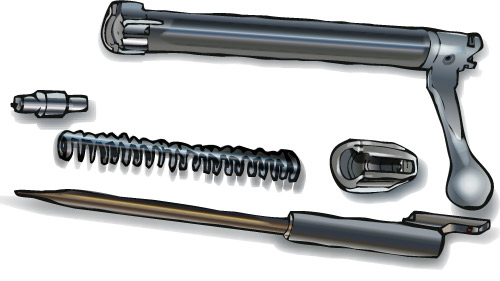
(above): bolt, firing pin, spring and cam
Cocking cam
- Apply a small quantity of grease to this area to aid smooth operation and reduced wear.
Firing pin assembly
- A consistent firing pin strike on the primer is critical for best accuracy. Do not pack full of grease as this will only impair a consistent strike.
- Light oiling should be sufficient to ensure no corrosion takes place around the firing pin. It is advisable to remove tension from the firing pin when the rifle is not in use for long periods.
- If unsure about disassembling the firing pin, consult a gunsmith for further instruction.
Bedding
- If the rifle has a floating barrel check there are no obstructions, dirt or water between the barrel and the stock. Use a stiff piece of card to check the clearance between them.
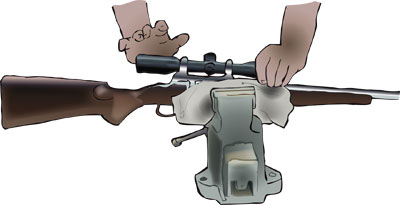
- If the rifle has a fully bedded barrel, check (with the stock of the rifle in a vice) there is no movement between the barrel and the stock.
When the action is required to be removed from the stock for thorough cleaning and drying, specialist advice should be sought in the first instance until you are competent to carry out the task yourself.
Stock
- A rifle will maintain its point of impact and accuracy in a more consistent fashion if the stock stays stable. This not only means excluding water from the stock but also avoiding large variations in humidity and temperature over a short period of time. The common stock finishes such as oil and varnish work perfectly well providing they are maintained. Synthetic stocks can simply be wiped over with a cloth to ensure they are dry.
Trigger
- Do not lubricate the trigger mechanism except with a dry lubricant if necessary.
- Triggers should be operated clean and dry as grease and oil only serve to attract and hold dirt.
Scope
- Protect the lenses whilst cleaning the barrel as oil can destroy the lens coating. Care should also be taken when using any sprays near a scope.
- Blow loose dust off, preferably with an air supply.
- To avoid damage to the lenses, use the correct type of soft, clean cloth and cleaning fluids specifically for the purpose.
- Periodically check the position of the scope on the action to make sure it has not moved rearward. Reposition and tighten as required.
- Re-zero rifle to ensure accuracy.
Zeroing of Firearms

line of sight represented by straight (black) dotted line, while bullet path represented by the curved red line

LOS or ‘line of sight’ is the black line within the blue shaded area, which represents the vital zone
fig. 1a the natural flight path of a bullet is to fall away from the line of sight due to the effect of gravity. The point of impact will, therefore, be below the line of sight
fig. 1b In order to account for this, the purpose of zeroing is to adjust the telescope so the barrel of the rifle is elevated. The bullet path will then rise and fall through the line of sight. The point at which the bullet falls back through the line of sight is the furthest out zero distance
Basic principles
- Before zeroing check that all screws on the rifle action and telescopic sight are tight and that the rifle barrel is clean.
- Allow sufficient time between shots to prevent the barrel from overheating.
- Adopt a comfortable firing position*, and use a rest - either prone, or a purpose made bench rest.
- Use the same ammunition that will be used when stalking.
- Do not zero in extreme weather conditions.
- Use a target that will allow you to take a consistent and accurate aiming point.
- Decide the range at which you wish your rifle to be zeroed.
- Do not allow anything to come in contact with the rifle barrel, including fingers wrapped around or touching the barrel.
Bore sighting
Bore sighting roughly zeroes the rifle and scope to ensure the shots at least fall on the target page at 25 yards. Fine tuning can then continue more effectively.
- Remove the bolt and secure the rifle on a firm bench where it can be aligned with a suitable aiming point by looking down the barrel.
- Adjust the telescopic sight so that the reticule centre corresponds with the aiming point, as seen through the rifle barrel.
25 yard range test
- Set a target up at a range of 25 yards.
- Fire at least two three-shot groups, calculate the mean point of impact (MPI) and adjust the reticule.
- Remember that, if your telescope adjustment is four clicks for an inch at 100 yards, it will be sixteen clicks for an inch of movement at 25 yards.
- Fire an additional three shots to confirm adjustments.

(left) To calculate the MPI, draw lines between the centres of each bullet hole on the target; (centre) Next, draw a line from the centre of each bullet hole across the midpoint of the opposite line. Where these second lines cross one another is the MPI; (right) Using the MPI, calculate elevation (up or down) and windage (left or right)
100-200 yards range test
- Set a target up at your chosen furthest out zero range, between 100-200 yards.
- With the same sight setting, fire a minimum of three shots to calculate the MPI and adjust the reticule.
- Check the adjustment by firing a second group.
- The reticule should be adjusted so that the mean point of impact is in the same place as your point of aim.
Remember that if your telescope adjustment is four clicks for an inch at 100 yards it will be two clicks for approximately an inch of movement at 200 yards.
Testing either side of zero
- Once zeroed, take shots at greater and lesser ranges than the furthest out zero to check the trajectory of the ammunition.
- The rifle should be zeroed such that the point of impact should fall within a 4" killing area out to about 200yds, without the need to adjust the point of aim
